

Each of the StudioPress themes uses plugins to enhance the functionality of the theme. Installing the plugins recommended by the theme is usually done as soon as you have installed and activated your desired child theme. There are two methods of installing a plugin through your WordPress dashboard. The easier method is to install by performing a search. In order to do this, your desired plugin must be in the WordPress repository (currently, there are over 35,000 plugins in the WordPress repository!); this generally means that a premium plugin must be installed by uploading it through your dashboard (as premium plugins aren’t in the WordPress repository.
Install a Plugin using WordPress Plugin Search
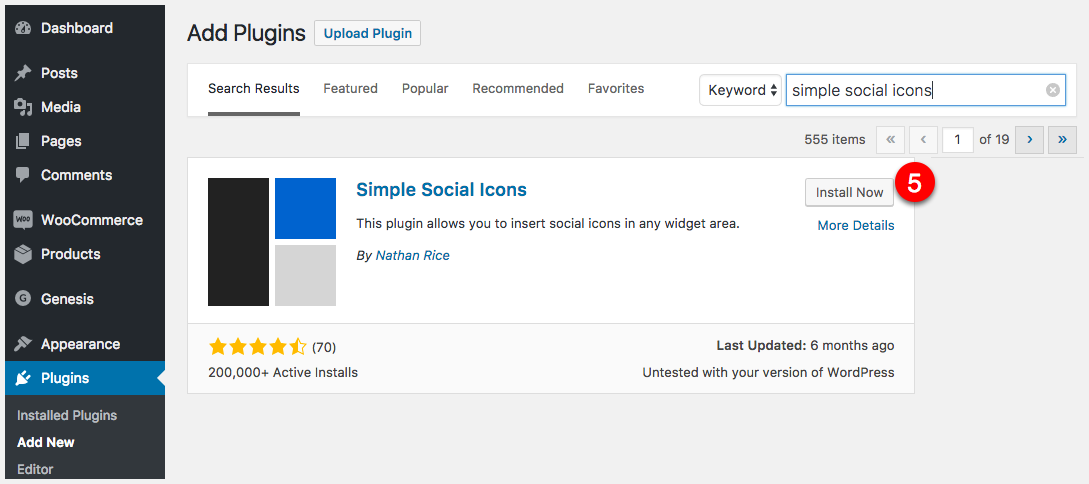
To use the WordPress plugin search functionality:
- Go to Dashboard
- Select Plugins
- Select Add New
- Search for the plugin you want to install
- Once you have located your desired plugin, click Install Now
- Finally, select Activate


Install a Plugin using the WordPress Admin Plugin Upload
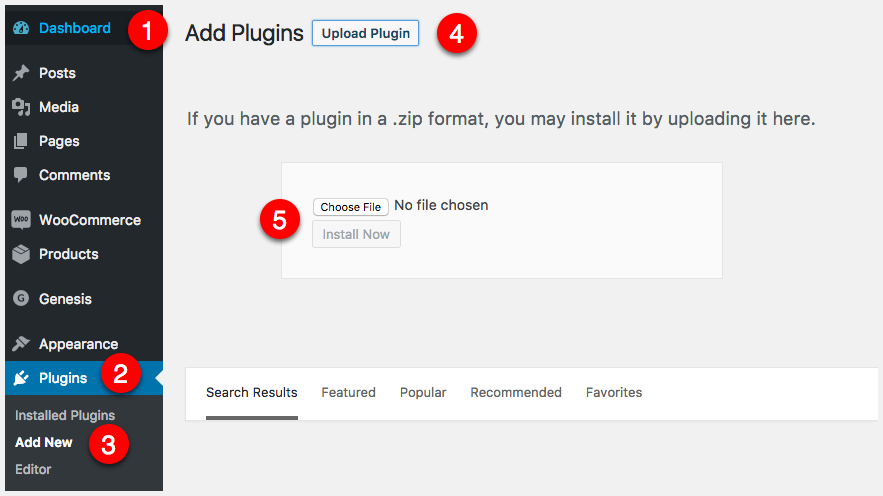
If you have previously downloaded a plugin, you can upload it via your WordPress dashboard
- Go to Dashboard
- Select Plugins
- Select Add New
- Click Upload Plugin
- Select Choose File and then browse to the location of the plugin on your computer. Once located, click Install Now
- Finally, select Activate Plugin
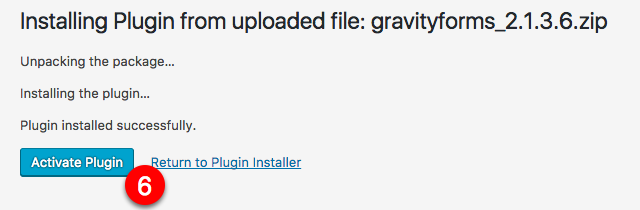
Once you have activated your plugin, you may need to adjust the settings of the plugin; this step will depend on the settings of the plugin, and the requirements of the theme you are using.
Did you know I offer a service to set your website up to look and function like the demo theme? You can learn more here.
Leave a Reply